Appearance
Getting started
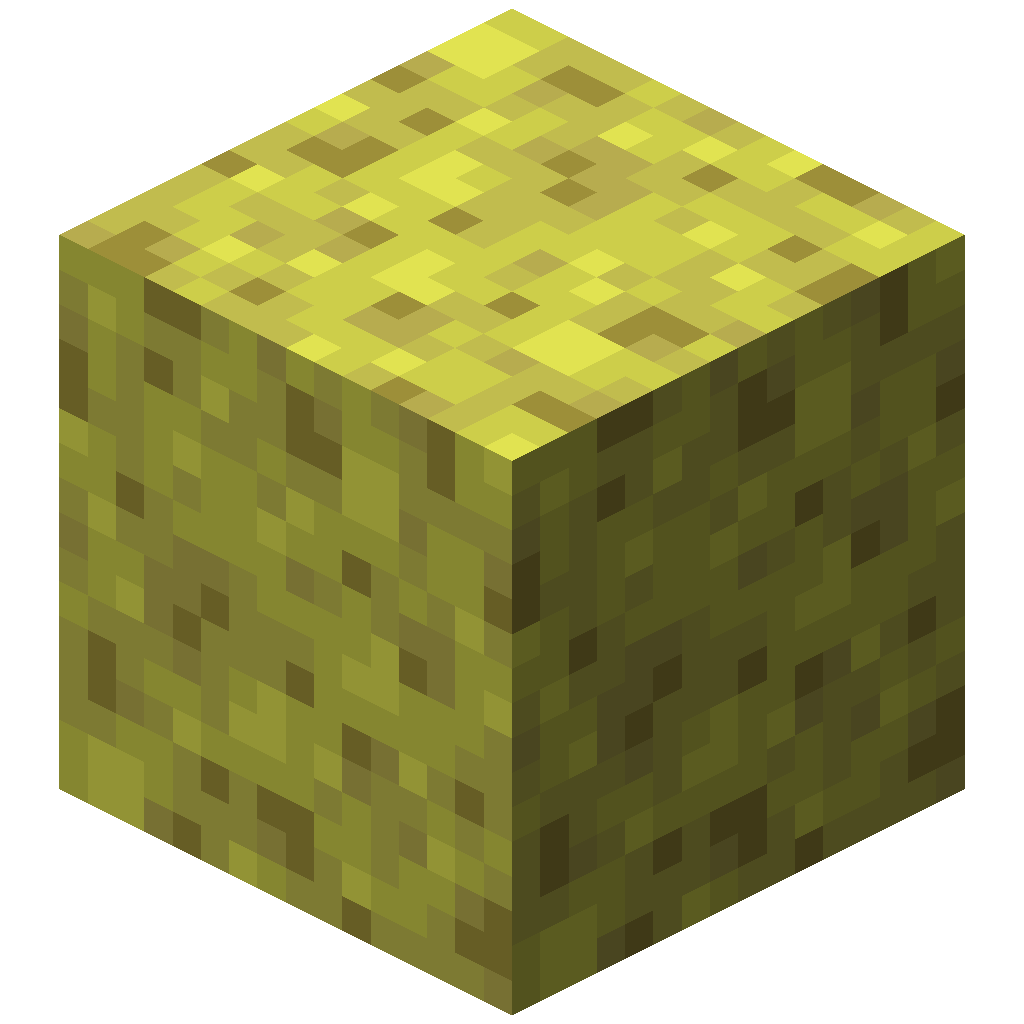 Configurable Sponge changes two numbers in Minecraft's sponge: how far it searches for water, and how much water it removes before it is full. It adds no blocks or items. You install it, edit a config file, and place a sponge.
Requirements
| Minecraft | Configurable Sponge | Java | Loaders |
|---|---|---|---|
| 26.1.2 (or a later 26.1 patch) | 26.1.2.0 | 25+ | Fabric, NeoForge |
- Fabric needs Fabric Loader 0.19.0 or newer and Fabric API.
- NeoForge needs 26.1.2.109 or newer.
- The config library, CoolerConfig, is bundled inside the mod. You do not install it separately.
Match both version and loader
Each loader has its own jar. Use the Fabric jar on Fabric and the NeoForge jar on NeoForge.
Install
- Install Fabric with Fabric API, or NeoForge, for Minecraft 26.1.2.
- Put the Configurable Sponge jar in your
modsfolder. - Start the game or server once.
The sponge is simulated on the server, so on a multiplayer server the mod and its config belong on the server. In single player, that is your own game.
Change the numbers
Starting the game once creates the config file:
config/configurablesponge-common.tomlOpen it in any text editor:
toml
# Configurable Sponge configuration.

[sponge]
	# Max depth of a sponge will search for water.
	maxDepth = 6
	# Max amount of water a sponge can absorb.
	maxCount = 64
Change a value and save. There is no restart and no reload command: the file is watched, so the next sponge you place uses the new numbers.
For example, to let a sponge reach 10 blocks and take up to 999 blocks of water:
toml
[sponge]
	maxDepth = 10
	maxCount = 1000
Try it
- Make a pool of water in a creative world.
- Place a sponge in it. The water around it disappears and the sponge turns into a wet sponge.
- Change the config, get a dry sponge again (a wet sponge dries in a furnace), place it in the water, and compare.
Where to go next
- Configuration: what each setting does, its limits, and some example values
- How the sponge works: the search behind those two numbers, and what counts as water
- Simulator: try settings before you use them